-

Hands. I'm sure it's possible to bake without hands, and I mean no discouragement to any hand-less reader endeavoring toward that goal, but baking without hands or more specifically a sense of touch would be challenging to say the least. Right from the start of a mix your hands will tell you better than your eyes, whether the hydration of your dough is off, or how the gluten is developing. As the end of bulk fermentation approaches your hands can give you a sense for whether the dough is ready to be shaped. After that, unless you are making a pan loaf, you'll need to shape the bread by hand, and eventually check the shaped loaves by touch to see if they are ready for the oven.
-

A decent scale. It doesn't need to be amazing, important features include: ability to be zeroed (tared) out easily, measure in grams and ounces, decent high end weight (anything ~7 pounds and up should be fine), and ability to measure down to at least 1 gram increments. Flour compacts and measure by volume can challenge precision. With baking there will always be elements outside of your control, which makes it all the more important to take the time to be precise with the variables when possible.
-

Mixer. This one is not really required, though it does make working with wet doughs MUCH more feasible. I use this 6 quart Kitchen Aid orbital mixer and it's worked out pretty well for me, though like all such mixers it can be a bit slow to develop the gluten on its own. You can also use a food processor which will develop gluten in record time, but if you go this route be careful as the ultra high speeds can over oxidize the dough which results in a whiter, less flavorful crumb. The ideal mixer for baking bread is a spiral mixer which combines a stationary spiral dough hook and a breaker bar (which severs the gluten strands on rotation) with a rotating bowl. This blends the benefits of both food processor and orbital mixer, allowing for speedy gluten development with less risk of over-oxidizing. To achieve a similar result with my mixer I use this:
-

Bench Knife, aka dough scraper. I use these things for several parts of the baking process, but during the mix they serve as a supplement for the spiral mixer's breaker bar. I mix in two to three stages, and in between each stage I dump the dough out of the mix bowl onto my work surface and cut it repeatedly with the bench knife before dumping it back into the mix bowl and continuing with the next stage. Later in the bake I'll use it for dividing the dough for shaping, and finally I use them for scraping down and cleaning my work surface.
-

Work Surface. Different people prefer different work surfaces for bread. For me, I really like working on wood (as opposed to laminate/stone/metal) the grains trap a small amount of flour which makes it easier to shape. I do all of my cutting and shaping on that cutting board, and I think I spent a whopping 9 dollars for it at Ikea, so don't think it needs to be anything fancy, but experiment to find what works best for you.
-
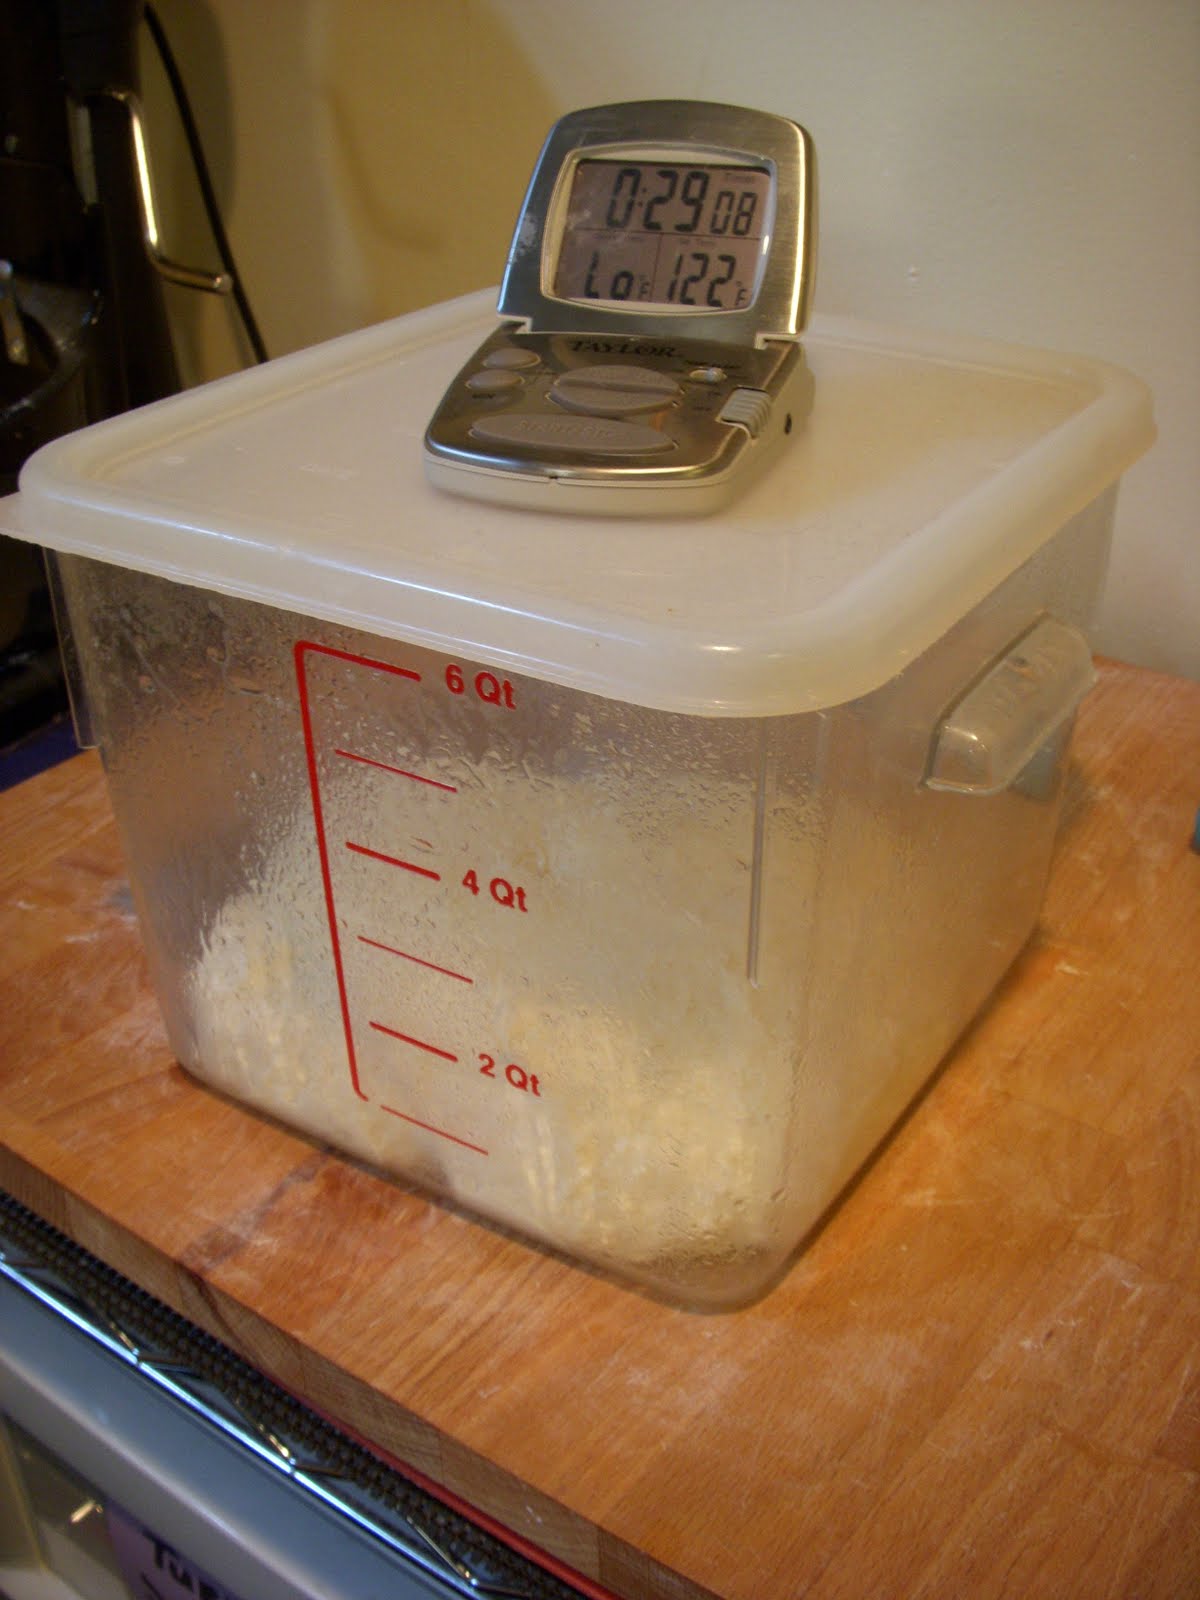
Tubs. I use these 6 quart lexan tubs for my bulk fermentation (sprayed down with a little vegetable oil). I find it easiest to fold my dough if it's in square sided containers, but bowls can work fine if that's what you have to work with. Also having clear sides with volume measurements allows for easy tracking of how excited the yeast are, and the lids fit snugly enough to prevent moisture loss. You can find tubs like this on the cheap at the commercial food section of Costco type stores.
-

Linen. Both in between and after shaping you'll need someplace to put your dough. Linen cloth is has the perfect amount of breathability. This is surprisingly important, as too little airflow will cause the dough to stick to whatever you set it on and ruin the shaping, and too much will cause it to dry out. After I have loaded a shaped loaf onto the linens and covered it up, I'll cover the whole thing up with a plastic grocery bag. It works surprisingly well. Most of the linens I use are either tea towels or napkins I have picked up on the cheap when I see them on sale.
-
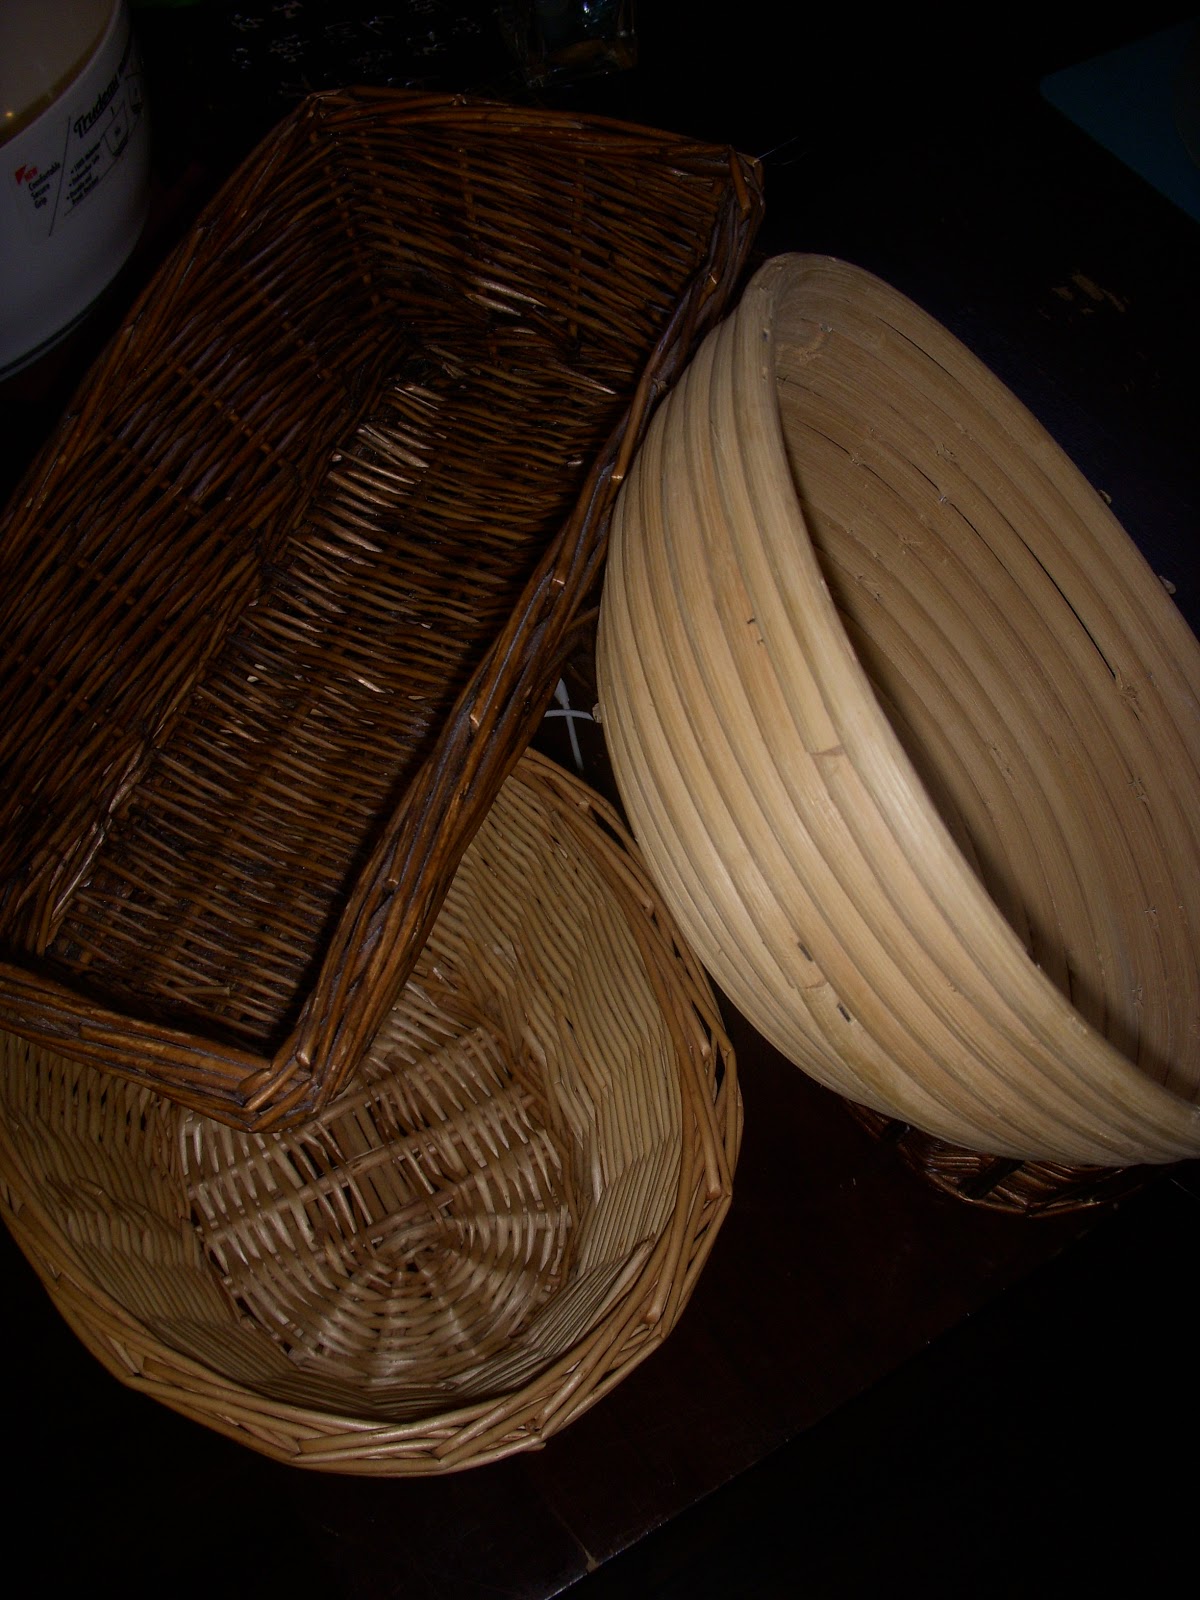
Proofing Baskets. While a well shaped loaf will hold up fine just placed on linen for it's bench proof, proofing baskets are handy ways to insure nothing bad (aka the cats) happen to it. This is additional merit for long overnight rises in the fridge. Some of them like the ones on the left hand side of the image will need to be lined with linen. While others like the coiled basket on the right just need sufficient flouring, and will impart beautiful flour markings on the bread. Apart from the coiled basket I have picked up likely shaped baskets from arts and crafts stores and the like.
-

Lames. [lahm] In order for many varieties of bread to reach their full size potential they will need to be slashed, which provides a weak point for the bread to expand from. Lames are simply razor-blade holders used for that purpose. There are two types curved (on the right) and straight (on the left) which yield different results. The curved lame is used to get nice ears (deep slashes which peal back a bit from the bread) like you see on a classic baguette. The straight lame in contrast can make the more symmetrical deep slashes such as the cross cuts on boules. Despite being basically a metal stick, it can be amazingly expensive to get a lame. For that reason I use the super high-tech popsicle stick with double-stick tape and a safety-razor blade method. When I first started baking I thought I could use a sharp knife . . . do yourself a favor and splurge on the popsicle sticks and razors.
-

Steam pan. Like slashes in the bread, steam is an important part of getting a good oven spring (the initial rise in the oven). To create steam I use this cheap stainless steel pan. I preheat it with the oven, after loading the bread I pour half a cup of bowling water into it then close the door as fast as I can. It's a poor substitute for what a professional baker has at their disposal, but every little bit helps!
-

Stones. Pizza stones really help to get a good crust on the bread, and at the same time help regulate the temperature fluctuations common in home ovens. Mine live in my oven all the time, and have served me well. You can also use unglazed ceramic tile for this purpose, but I've always had a hard time finding it and being able to confirm it as food-safe. Always be careful that the stones don't cover up the vents if you use a gas oven like I do.
Well it's late here, so I'm going to wrap this up. I am sure I have left out something pivotal, but rest assured it will be addressed within the scope of the scope of another installment. Look forward to several rustic breads in the upcoming Bread Logs, and Minneapolis folk watch my facebook page if you'd like to get some of the extra bread for yourselves!
Thanks for reading,
Vino


